上周星期五的时候,完成了一次springcloud的小体验,现在把流程和想法记下来
前言
- 按照网上的教程来写的demo
- 首先需要一个服务端,还需要一个服务提供者,而且服务提供者需要把自己注册到服务端,另外还需要一个服务消费者,服务提供者也可以是服务消费者
- 熔断器Hystrix的话,就相当于短路机制.熔断器在什么情况先需要呢?
我的理解是,比如在A调用B的服务表明上是直接调用的B,其实是A请求服务端,服务端在把B服务提供给A,如果发生A调用B,B在调用C,这个过程就是A请求服务端发送给了B,B在请求服务端,服务端在把C服务给B,B在给A;
这种情况下如果C服务出现问题,或者延迟的话,B就会一直等待C的响应,然后A就会一直等待B的响应,要不到多久这种连锁反应就会让集群崩溃
在这种情况下熔断器的作用就体现出来了
熔断器会在,请求服务,服务出现多次错误或者延迟的情况下把出现错误或者延迟的服务关闭掉,让请求这个服务的其它程序回调(fallback),这样就不会出现集群的连锁反应
建立服务端
- 在最基本的springboot项目的
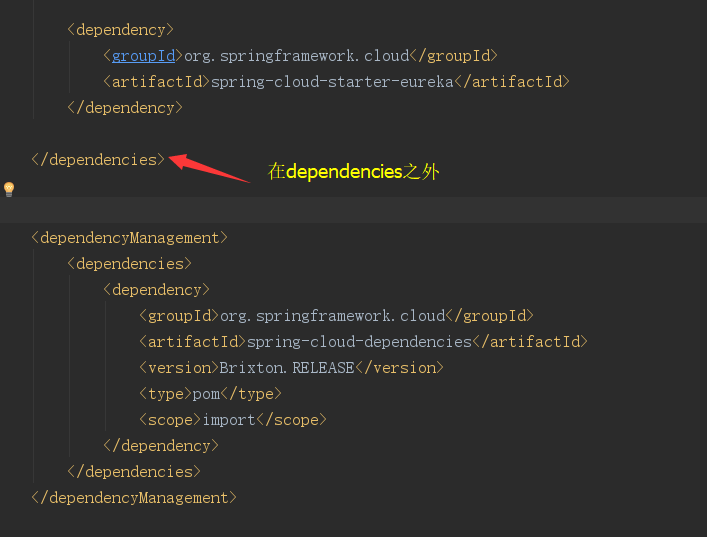
pom.xml文件里面加入如下依赖:
1 | <dependency> |
- 注意添加依赖的方式
- 修改配置文件
1 | server: |
- 修改启动类
1 |
|
加入 @EnableEurekaServer
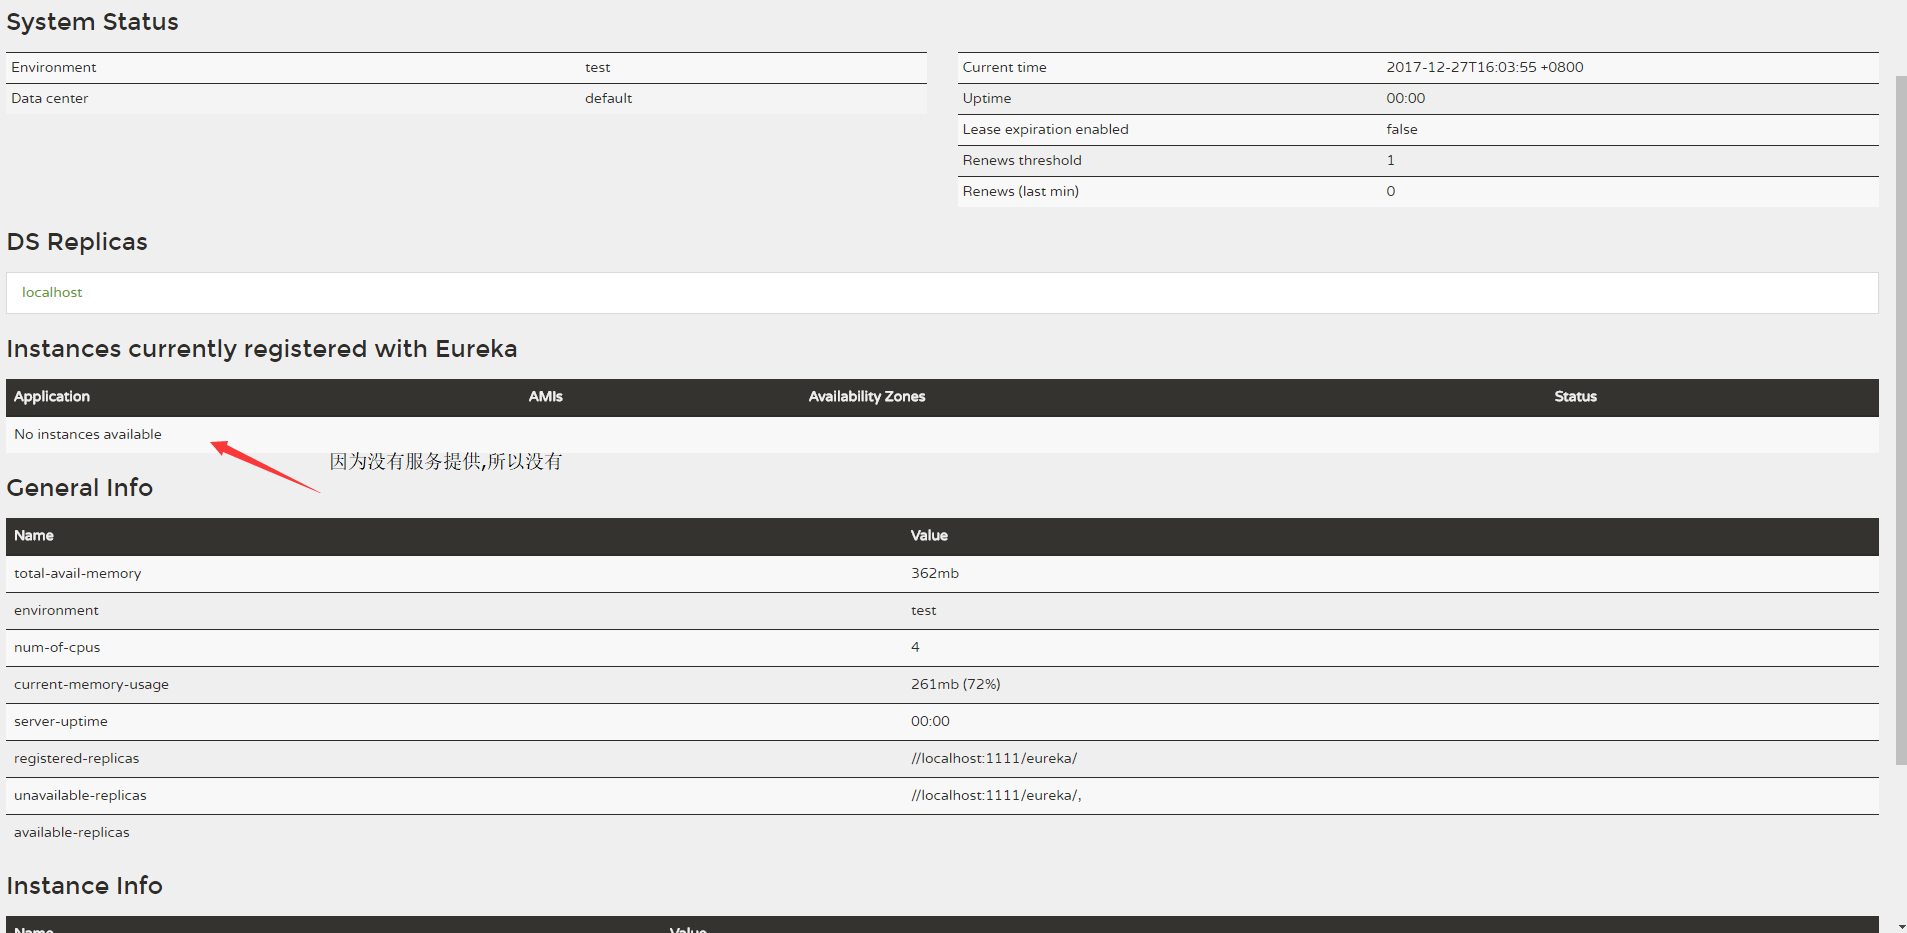
- 启动效果如下(我启动了两个服务提供方,设定了不同的端口,一个有say方法,一个没有):
创建服务提供者
- 在基本的springboot项目上添加依赖
1 | <dependency> |
- 修改配置
1 | spring.application.name=compute-service |
- 编写服务controller
1 | /** |
在启动器上加入:
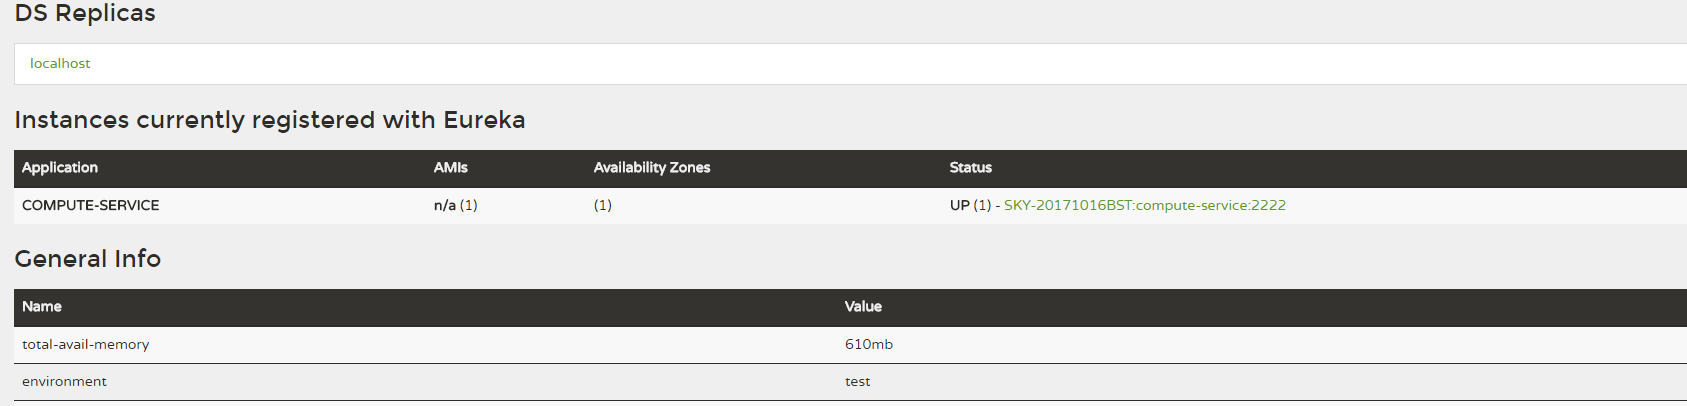
@EnableDiscoveryClient注解,注册到服务中心启动过后如图表明以及注册成功:
编写消费服务方
这里使用的 Feign
在最基本的springboot项目上添加依赖(注意添加依赖和上面的类型):
1 |
|
- 修改配置
1 |
|
- 编写调用接口
1 |
|
- 编写Controller进行测试
1 |
|
- 修改启动类
1 |
|
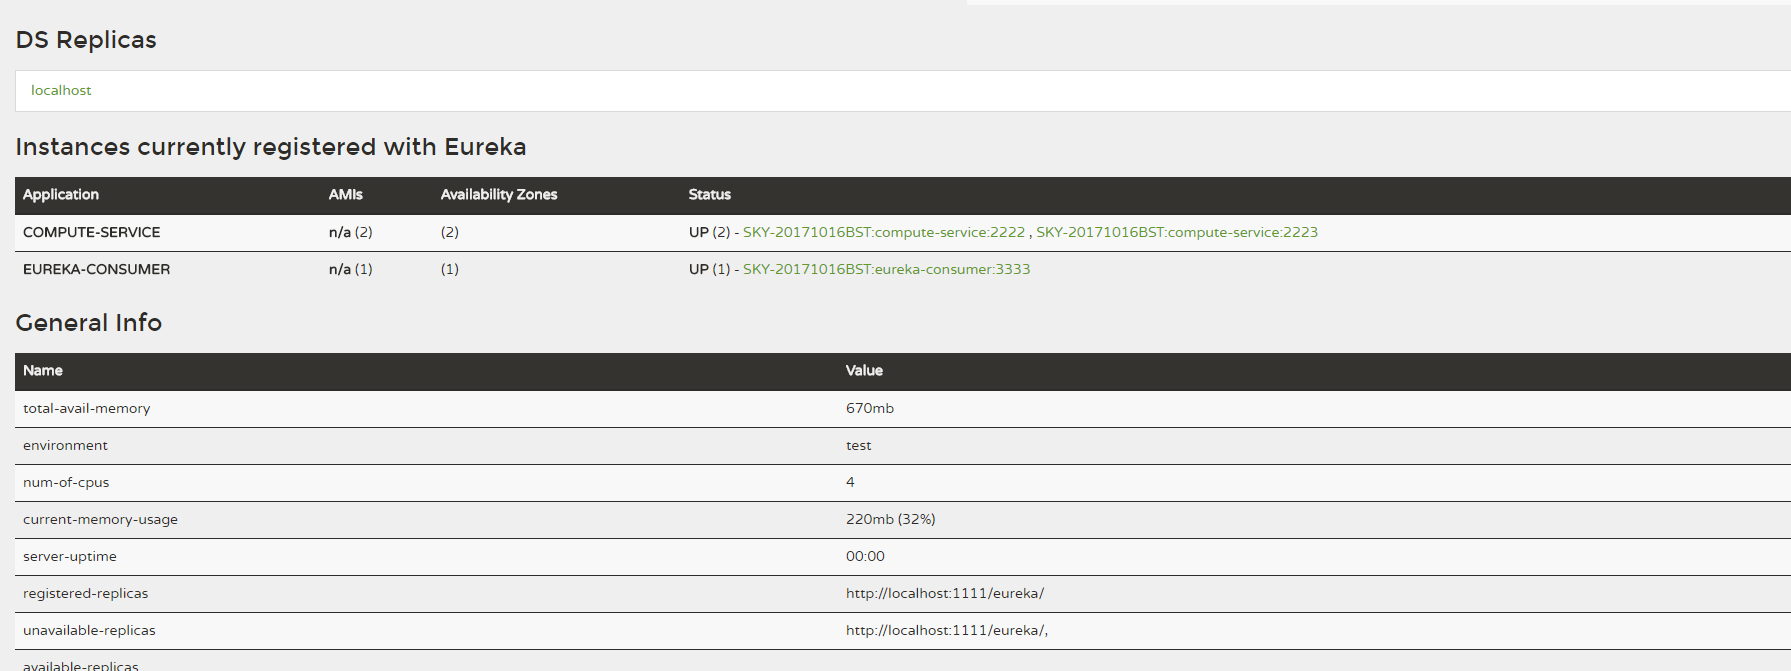
- 启动过后如图:
测试
这里我启动的两个服务提供方,端口指定不一样
访问服务消费者的add方法
- 第一次访问其中一个服务提供日志打印如下

- 再次访问add,另一个服务端打印结果

结论
通过Feign以接口和注解配置的方式,轻松实现了对compute-service服务的绑定,这样我们就可以在本地应用中像本地服务一下的调用它,并且做到了客户端均衡负载。
但是如果访问3333的say方法,出现第一次访问如果是成功,第二次访问肯定404,这是因为启动了两个服务端,一个有say方法一个没有say方法,在Feign实现的客户端均衡负载的时候,是采用的遍历的方式应该,类似于上面的add方法,第一次访问第一个服务端,第二次访问第三个服务端.